Thursday, October 30, 2014

1059- Tailcone- p.10-5 step 1-2

Tailcone- 1 hr 31 mins (Tailcone 8:11, Empennage 144:43, Total 165:39)
Rivet count: 0 (Total 2,154)

I got home a bit early from work today. I assembled the last of the bulkhead/frames. This was the same as the other ones from previous days. The next step is to cut the stiffeners to size from the J-channels. An easy step, but with 12 pieces to cut, it takes some time. I'm out of time and need to get back to studying. Next step is to cut the ends of the 12 stiffeners at a 45 degree angle and then to deburr all the edges.

I noticed that as the deburring wheel has been used up, it is getting harder to maneuver these bigger pieces to get the edges done. Kids, don't try this at home. I modified my grinder to not have the housing around the wheel. I'll need to be extra careful now around it. I also noticed that it makes a lot more "wind" for lack of better words, and I'll need to be using my eye protection more diligently now. I'm not going to risk anything with my eyes around this machine. These are things that should be done anyway, but just doing my PSA portion of it. -M


Monday, October 27, 2014

1058- Tailcone- p.10-4 step 7-8

Tailcone- 53 mins (Tailcone 6:40, Empennage 143:12, Total 164:08)
Rivet count: 0 (Total 2,154)

A short day today. I have a lot of studying to do. The 1007 frame/bulkhead is assembled. I spent a whole lot of time just deburring edges and lightening holes. Then it was a simple task of clecoing the two pieces together and drilling out two holes to 5/8". I also went back and disassembled one the bulkheads I had forgotten to deburr. I really wish these admin steps were done, but there is still one more bulkhead/frame to go, and on top of all that there are 12 J-channel stiffeners to cut to size. (and deburr!). Patience. It will start looking like something really soon. -M


Sunday, October 26, 2014

1057- Tailcone- p.10-3 step 1-5 & p.10-4 step 1-6

Tailcone- 2 hrs 42 mins (Tailcone 5:47, Empennage 142:19, Total 163:15)
Rivet count: 0 (Total 2,154)

The admin steps continue for the tailcone as we start to assemble the tailcone bulkheads one at a time. First we straighten out two pieces and then use the pieces from yesterday to make the 1011 bulkhead. The pieces aren't all pre-punched, so it's a bit more time intensive. It actually makes me appreciate the pre-punched kits. Reading about the early builders of the RV-3's through -6's and how they had to measure every single piece before drilling it makes me shudder at the amount of mistakes made and replacements parts that needed to be ordered.

Next we fabricate another piece from an angle and then admin steps for separating other pieces to assemble the 1010  bulkhead. Next deburr and assemble three pieces to make the 1008 bulkhead. Crazy to think that this took just under three hours, and looking ahead, there's probably at least 4 more hours of work before the tailcone starts to actually look like something. In the meantime, I'll be waiting for better weather to prime those elevator pieces. -M


Saturday, October 25, 2014

1056- Tailcone- p.10-2 step 2-6

Tailcone- 1 hr 25 mins (Tailcone 3:05, Empennage 139:37, Total 160:33)
Rivet count: 0 (Total 2,154)

The tailcone begins much like the other 4 assemblies have begun with a bunch of admin steps. Cut here, trim there, deburr a whole lot of edges. The first part was spent attaching the AEX tiedown that was previously made to the bulkhead walls. Then two pieces needed to be fabricated from bigger sections of pieces. It was pretty straightforward. However, I can tell I'm in a new workshop and that it has been quite some time since I worked on pieces. I spent some time familiarizing myself again with some of the tools and techniques, and I spent quite some time continuing to get used to the new arrangement of this shop, and the less than stellar lighting conditions. Either way, progress was made. So here's my first video in over 6 months! Next, I will try to get the priming of the elevator pieces done, so I can finish that assembly before I get too far in the weeds on the tailcone. Those pieces are taking up an entire shelf of storage and I'm sure are just dying to be put together again. -M


Saturday, October 18, 2014

1055.6- Tailcone- p.10-2 step 1

Tailcone- 1 hr 40 min (Tailcone 1:40, Empennage 138:12, Total 159:08)
Rivet count: 0 (Total 2,154)

I actually spent a good part of the day working on a small project completely unrelated to the airplane. It was good because it allowed me to cut, deburr, dimple, and rivet for the first time in 6 months. I actually missed an opportunity to clean (since they have been sitting for six months) and prime the elevator parts during this gorgeous and wind-free day. I went ahead and used what little time I had to start work on the tailcone.

The first step has you fabricate the AEX tiedown. I now understand why so many people just order the prefabricated tiedowns from third-party vendors. It is an easy step, though very time consuming with a lot of patience required. It was also the first time I have used a tap set to make a new thread. I actually tapped the spare piece of tiedown first to make sure I didn't screw up. I have been using the cheap tap/die set from HF and its been taking a toll. Today for the new threading, the handle actually broke! I'll have to go invest in a more robust system now that I have a knack on how it operates and knowing that I'll need to do two more of these in the future for the wings. A good learning experience today.


Here's a before and after (using the tiedown from the wing kit as the before). I'll start making the timelapse videos again, since today's timelapse would be pretty boring of me spinning a tap and getting frustrated at the handle breaking. -M

Sunday, October 12, 2014

1055.3- Workshop completed

Workshop - 4 hrs 0 min (Workshop 17:56, Total 157:28)
Rivet count: 0 (Total 2,154)

This is actually a back-dated post. Last week, we managed to make it to the local Harbor Freight (1.5 hours away) so I made the most of the trip. I purchased a rolling toolbox to help keep organized in the garage. I also managed to get the skins out of the crate and everyday after work was able to break it down into useful pieces. A lot of the wood is saved for future use, and some pieces were put to use immediately.


I made another EAA workbench to replace the one I had previously sold to a neighbor. I now have a surplus of room available. I used some crate materials for it, so apologies for the crudely photoshopped hiding of my address.The workshop is complete and looks great for the limited space available. Now all I need to do is find time in this ridiculously busy schedule to go out and get some work done. -M


Saturday, October 4, 2014

1055.1- Return from the dead!!

Elevators - 3 hrs 0 min (Wing Kit 3:00, Total 153:28)
Rivet count: 0 (Total 2,154)

It has been entirely WAAY too long since my last post on this board. Six months!!

A quick recap of my absence and the reasons I've had to take six months off of building an airplane.
April 2014- I finished up my time in active duty Air Force. More importantly, I packed up my house and workshop and put it all into storage. So I wasn't able to work on anything even if I wanted to!
May 2014- I was living at my fiancee's apartment. No room to work and a whole lot of other things happening.
June and July 2014- My fiancee and I spent 7 weeks in Spain. We hiked across the entire country on El Camino de Santiago, and even spent some time with relatives and sightseeing.
August 2014- I married my fiancee. 6 days later, we had packed up her apartment and moved to Mississippi. Needless to say, there were a lot of other things to do around the house. However, I didn't get my workshop tools until late August. We spent weeks organizing and moving things around.
September 2014- The garage workshop still wasn't set up and I had also started pilot training for my new job. I really didn't have any time to spend on it. In fact, it will be slim pickings for time from here on out, but I suppose something is better than nothing.

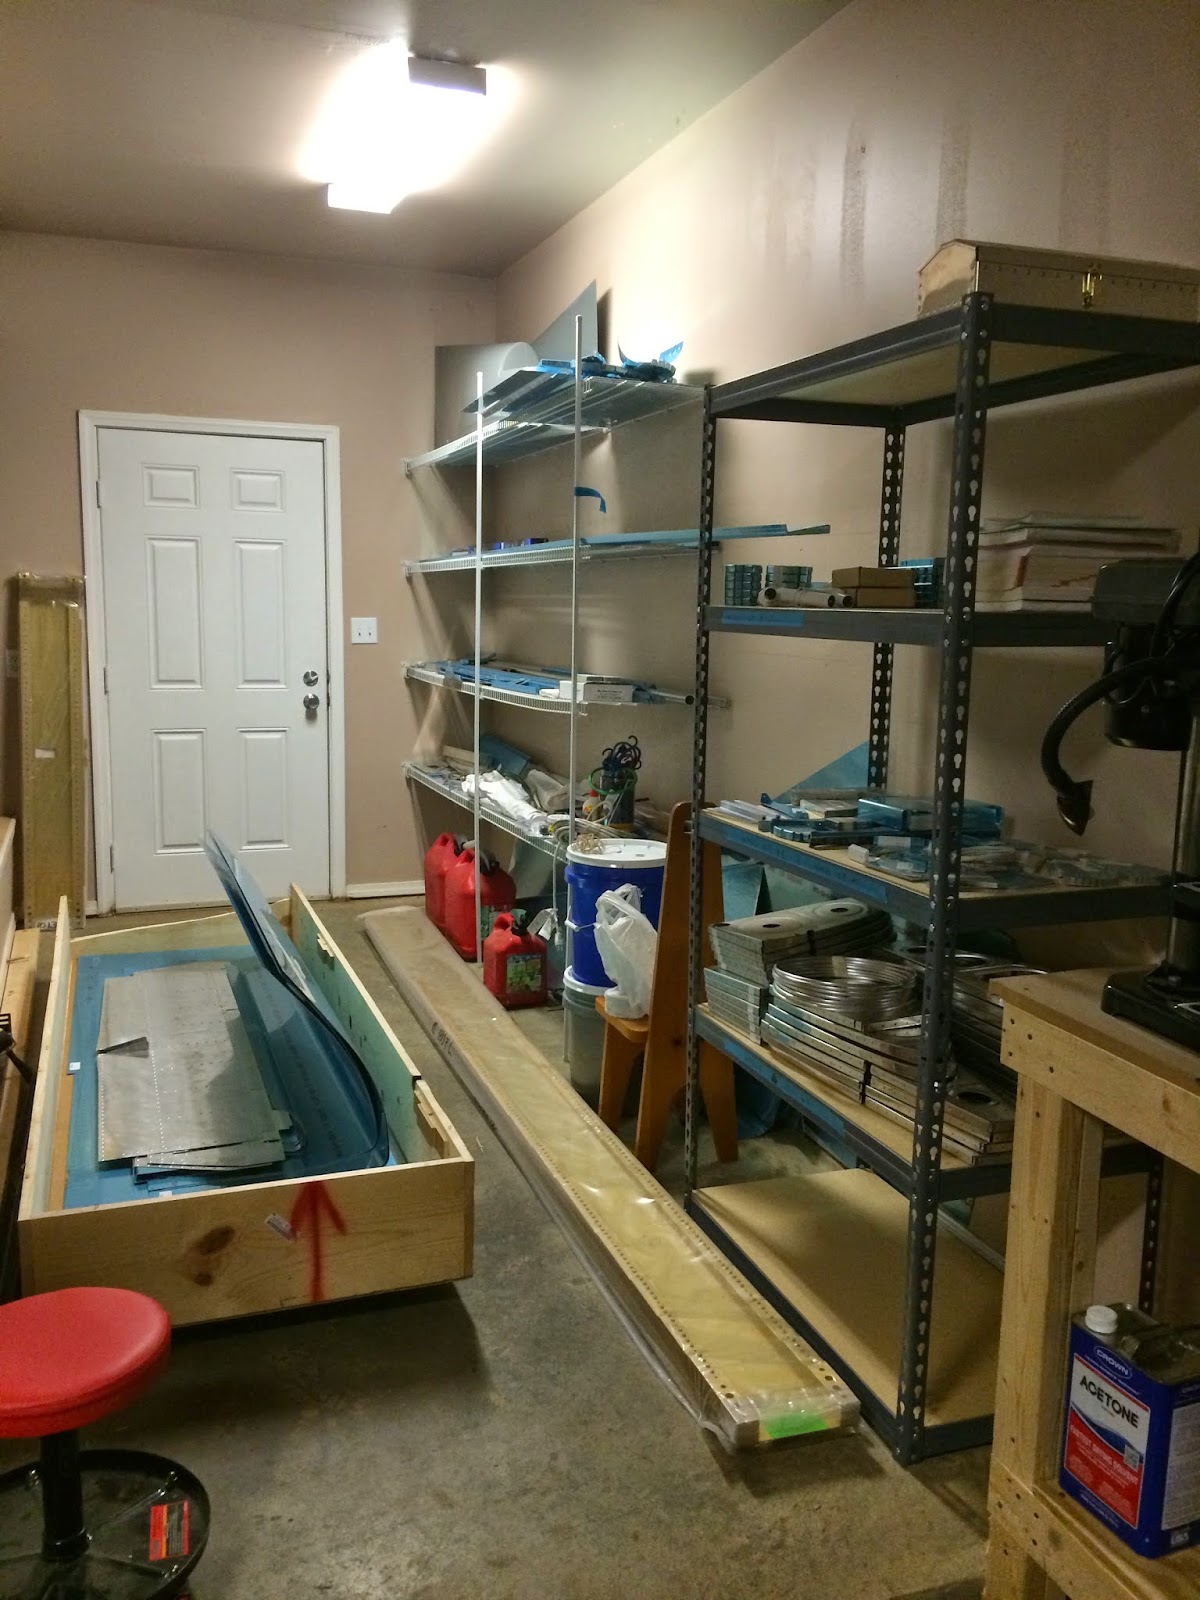
Today- I spent 3 hours unpacking the wing kit crate and cataloging parts. Since I still have hardware from the empennage kit that will be used on the unfinished elevators and on the unbuilt tailcone, the cataloging part was a real pain. Lot's of multiples and I'm OCD for organizing and keeping all the bolts together, etc.


It's all done now though. Below are pictures of my new digs in MS. There's still a lot of organizing left to do, but it's good to be back in action! I'll keep tidying up the shop in weeks to come. -M