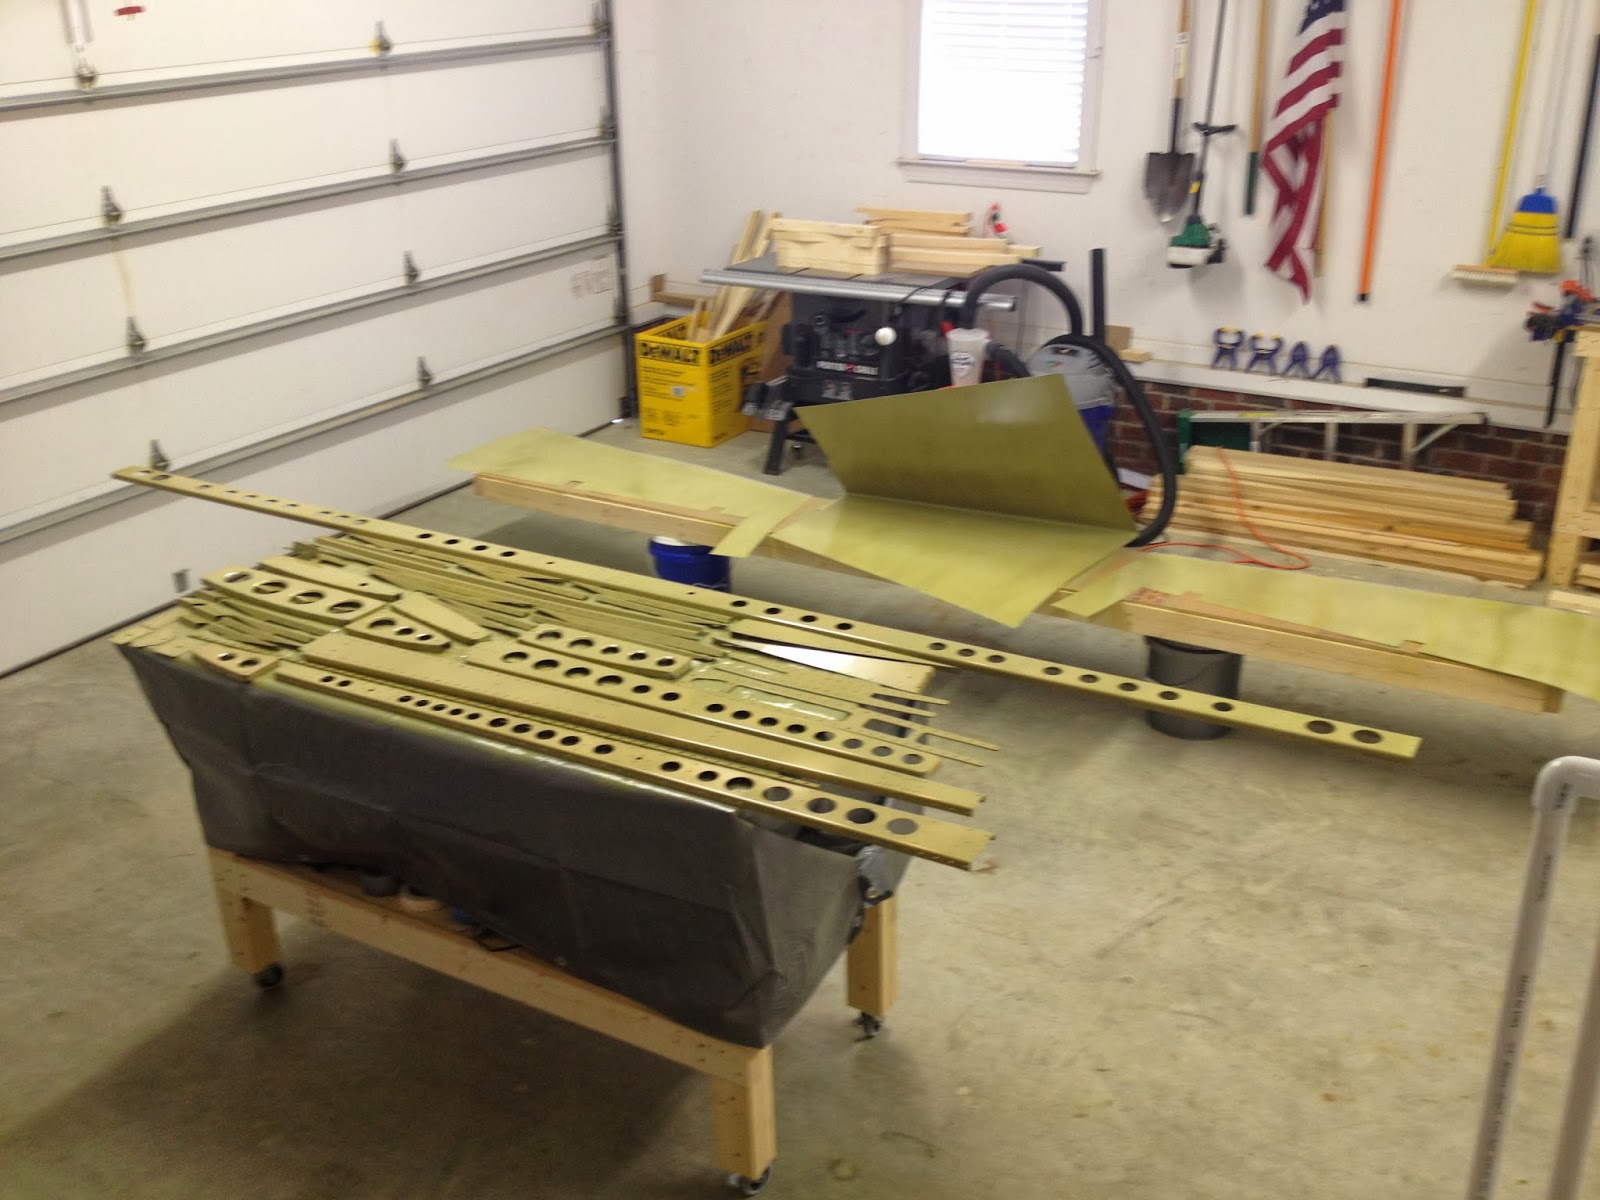
Vertical Stabilizer - 2 hr 3 mins (V.S. 21:38, Empennage 43:04, Total 56:30) Rivet count: 154 (Total 325) Holy rivets Batman. This is just the V.Stab... 300 down ~13,000+ to go... Nearly complete. So close. -M
Vertical Stabilizer - 2 hr 15 mins (V.S. 19:35, Empennage 41:01, Total 54:27) Rivet count: 81 (Total 171) All-out riveting tonight. Unfortunately, not as productive as last night with pieces close together. Working with a larger piece, it was one rivet at a time, and having to blindly reach in many times. I can see how a rivet-buddy in the future will come in handy. (I hope you're ready, -L!) I assembled the skeleton and then cleco'd the skin on. Riveted the middle inspar rib, about half of the front spar, and all the nose ribs to the skin. I expect about two more hours of work on the VS tomorrow and then I'll be complete with chapter 6 of the plans. Adios and goodnight. -M
Vertical Stabilizer - 1 hr 59 mins (V.S. 17:20, Empennage 38:46, Total 52:12) Rivet count: 84 (Total 90) Assembled the rear spar pieces, and then attached the doublers to the rear and front spars. The riveting was slow at first as I was taking my time, but it sped up significantly as the night went on. I'll need to stay focused so I don't repeat the same mistakes from the practice kit due to going fast. Glad to see progress being made, and tomorrow the pieces will start taking on a shape! I figured out that in my first month (four weeks), I worked ~37 hrs. This was a low number from my desired pacing, but I'm satisfied, given I didn't have a single weekend to utilize for long hours. Overall I'm happy with the progress, but I know that heading into Nov and Dec, the holidays and work travel are going to seriously hamper progress (I'll be out of town a total of three weeks in December alone!) I'll make up for it in 2014... -M
Vertical Stabilizer - 20 mins (V.S. 15:21, Empennage 36:47, Total 50:13) Rivet count: 6 The first rivets have been set! I got home from work and noticed the primer had dried nicely. A few notes: The garage still reeked-- I'm spraying outside only from now on. The smell is nauseating-- That filter I bought and used earlier is awesome. (HF special) There was a thin coating of primer in dust form on the floor and I had to clean that up too-- ditto. The use of a screen door to hold drying pieces works far better than a solid surface-- Thrift shop! I also clecod the VS spar together and taped off holes that won't get a rivet. For now, the project goes on hold for the 3-day weekend. Thank a veteran this weekend... -M
Vertical Stabilizer - 1 hr (V.S. 15:01) Rudder - 1 hr (Rudder 16:04) Horizontal Stabilizer - 15 mins (H.S. 2:41, Empennage 36:27, Total 49:53) I've eclipsed the two day mark. 7 minutes short of 50 hrs, which for a nominal 2,500 hour build means I'm 2% complete! (I'm sure it will be less in the long run, but time will tell) I was going to prime last night, but I ran into a few logistical issues with setting up the HVLP gun. I primed this morning instead and I'm glad I did. I originally mixed up two cups of primer for the batch, and that got me about half way through the parts. A second batch of primer was necessary. The first thing I primed was one of the skins and I made it "orange peel." I was using way too much primer. I adjusted it a little better, and did the rest of the project but as look back on it now, I still used way too much primer. I need to figure out a better way to evenly distribute the paint. I'll keep searching the forums. In the mean time, it's a trip to the Outer Banks for the holiday weekend, so the riveting will begin in earnest next week. Maybe I'll sneak in a rivet or two tomorrow just because. I started the build with 30 mins of work the day before a trip, and here will be 28 days later before a trip. It's only fair! -M
Workshop- 30 min (Workshop 13:26) Vertical Stabilizer - 1 hr 30 mins (V.S. 14:01) Rudder - 1 hrs 30 mins (Rudder 15:04) Horizontal Stabilizer - 30 mins (H.S. 2:26, Empennage 34:12, Total 47:38) I built a long dunk tank for the HS spar out of 12 ft. 2x4 and spare pieces and ply from the crate from Van's. Glad that is done! Massive night of work with alumiprep and alodine. All the pieces that were sitting around are complete. Part of me is glad I did everything at once to save on the set-up and clean up (about 45 min total), but wow is it tiring... Either way, the parts came out really nice.... Priming tomorrow! -M
Vertical Stabilizer - 1 hrs 30 mins (V.S. 12:31, Empennage 15:12, Total 1:02:59) Final assembly of the front spar doubler and countersinking. Dimple and c'sink the rear spar. I totally messed this up. I was 3/4 done and realized I had the die set for for a 3-X rivet and not for a #40 dimple. Luckily it was underset and an easy fix. Miscellaneous drilling of holes and deburring all around. Finally, the rudder stop attachment. I need to swing by the hardware store for some PVC to make a drying stand and then its time for priming tomorrow! -M
Vertical Stabilizer - 2 hrs 25 mins (V.S. 11:01, Empennage 13:42, Total 25:29) Scuff and dimple the VS skin. Got to try the C-frame dimpler, squeezer set, and pop rivet set. My forearms are on fire. For the C-frame, I also fabricated a platform out of spare wood from the empennage crate and a 2x4 scrap to hold a piece up at the same level as the dimple die. It's going to come in really handy during the build. Disassembled the skeleton to deburr and dimple. Forgot to scuff two of the pieces before dimpling, but corrected myself. Dinner time, I'll be back for round two later tonight... -M
Vertical Stabilizer - 1 hrs 17 mins (V.S. 8:36, Empennage 11:17, Total 23:04) Simple and straightforward. Drill holes in the VS skin, swap clecos, drill the other half of the holes. Remove skin and deburr everything. Also mark some holes that won't be dimpled later on. I'll do the dimpling tomorrow. -M
Vertical Stabilizer - 4 hrs 31 mins (V.S. 7:19, Empennage 10:00, Total 21:47) Well, I got a bit carried away tonight and lost track of time. Even got ahead of the plans and did some deburring ahead of time. A lot was accomplished and the reward of an aircraft-looking piece to show for it! Started off by finishing the assembly of the VS rear spar and match drilling it. Disassembly followed and it was time for countersinking. I had a spare spar from someone at the airport that screwed up their assembly and was able to fine tune the depth with it. This step was really frustrating and I now see why people invest in multiple countersink cages to be spared from having to do that step repeatedly. After deburring, I reassembled the spar, and then deburred all the other parts of the VS in preparation for putting the skeleton together. I got the skin ready for attachment and this is when things got fun. I had forgotten to file down the ends of the nose rib pieces so they wouldn't dent the skin ($90 to reorder), so I took everything apart to get to the pieces. In the process of catching an error, I committed another by putting the pieces back together with the front spar facing the wrong way. I didn't notice until after putting everything together and instead of starting over I undid the skeleton with the nose ribs still attached to the skin. It was a pain, but I got it done without any damage. Finished clecoing and now I have a complete VS. -M
Vertical Stabilizer - 1 hr 58 mins (V.S. 2:48, Empennage 5:29, Total 17:16)
Good progress tonight! Even though it took 2 hrs to attach 3 pieces, it was 148 holes drilled and 592 holes deburred. There is no way I will keep track of minutia like this as we go on, but it is a good perspective to look back in few years and see that this whole endeavor started with a simple task repeated ad nauseam. Lesson learned- deburring sucks. The deburr bit attached to the drill makes life a bit easier at least. It is a real pain to have to clean up the shavings as often by hand. Aluminum sticks to the tabletop brush too readily. The shop vac is too powerful and I'd be afraid of ingesting bits, clecos, or actual pieces. I need to invest in a handheld vacuum for the shop... Tonight I attached the spar caps that were previously fabricated to the VS spar, then match drilled the three together along the web, and then along the flanges. Simple. Straightforward. -M
Vertical Stabilizer - 50 mins (V.S. 0:50, Empennage 3:31, Total 15:18) Well, I'm officially an RV-10 builder! It's been rough holding myself back the last few days waiting for tonight. The fact that I busted my finger on Tuesday working on a wooden porch glider helped. See pic below, the swelling has subsided quite well. The 10th day of the 10th month to start the RV-10!!... Fabricated the V.S. spar caps by cutting the angles per the plans and then deburred all edges on them. Already learning a few tricks, too. The scotch brite wheel is going to get used up fast unless I make sure to make a few passes with the edge deburring tool first. Three firm passes seems to do the trick. Followed by two quick passes on each "corner edge" with the wheel. Also developing a habit that is working well for the actual corners of the stock pieces. I wonder if I'll be this detail oriented in a month's time? Now I get to put the project on hold again. Going to visit -L's family in PA for the long weekend. More to follow on Tuesday. Cheers! -M