Showing posts with label Admin. Show all posts

Monday, October 9, 2017

1098.1- Main Spar- p.13-3 step 8 & p.13-5 step 1

Section 13: Main Spar- 5 hrs 26 mins (Main Spar 30:17, Wings 34:30Empennage 266:39, Total 321:07)
Rivet count: 20* (Total 5,767)

Lucky Chapter 13 is complete!! The numbers from my build log tracker tell me I worked 11 sessions averaging 2:45. Not too bad. It took about 7 weeks of actual building to do that. Now for the bad news. Unfortunately there was a two year break in the middle as discussed previously. So in reality, I averaged about 16 mins per week, or 2.5 minutes per calendar day. OK, now that I have entertained myself sufficiently...

The day started off well enough. I set up the spars for self-etching primer along the flanges (pic 1). I had been delaying that for a few days since it had been raining and humid, and I needed a well-ventilated garage. While I waited for the one side to dry before flipping over the other flange, I took care of some admin by annotating the parts I had "pulled" off of my inventory sheet. In the process of doing so, I realized I had not updated the empennage kit inventory the entire year I was in Mississippi. Good thing I had some time on my hands for that. After I flipped the spars and primed the other side and all the dings the main spar got in random spots, I started looking ahead to the next section for the wing ribs and I pulled those parts from inventory.

The primer will take 24 hours to fully set, but can be touched and handled after about 1 hour. All that remained was to rivet the AEX tie downs to the spars and prep the 823PP brackets and bolt them to the spars/AEX tie downs. I was on my last bolt for the night, and I have no clue what got into me, but I completely spaced on how tight I was turning the wrench and ended up collapsing one of the platenuts and shearing it (pic 3). Of course it happened on the last bolt!

So I removed the rest of the bolts, but the over-torqued one would not come out. After thirty minutes of trying everything I could think of, I busted out the #40 drill and went to work on the plate nut and the bolt together. I drilled through, rotated the bolt a 1/8 turn, and drilled again. I essentially cut the bolt in two with a drillbit. Not pretty by any means. Then I continued use of the drill by drilling out the ten rivets holding the AEX to the spar, so I could access the two rivets holding the now-split plate nut (pic 4). Then I re-riveted the plate nut to the AEX, and the AEX to the spar. So 32 rivets today, but only 20 of them count.

Mercifully, the second time around went better than the first, and after some bolt markings, chapter 13 is in the books (pic 2). I only have four days left of building before I have to take a two-month break for work, so I will work ahead with the ribs, and skip over anywhere that directs priming until January when I can order a fresh batch of AkZO. I don't expect to get very far this week, and I will likely spend most of my time fluting the ribs and deburring edges to be honest. So stay tuned for more updates! -M


Friday, September 1, 2017

1093.1 The Third Workshop

Workshop - 2 hrs 0 min (Workshop 19:56, Total 294:19)
Rivet count: 0 (Total 5,337)

Yesterday was supposed to be the first full day of working on the plane in a very long time. Instead, I spent it working on the wife's car. We popped a check engine light, and the coolant flow control valve was at fault. $90 part, a full coolant flush, and six hours later, the car is back in working order. The plane however, is not.

A big thanks to T. for lending me some tools to get the job done! I met T. a few months back. Some pretty unique circumstances leading up to it. He's a couple miles down the road and also building an RV-10. He is significantly further along than we are. Leaps and bounds further... It's great to have someone around to pick their brain about the project as well as seeing what we are working towards.

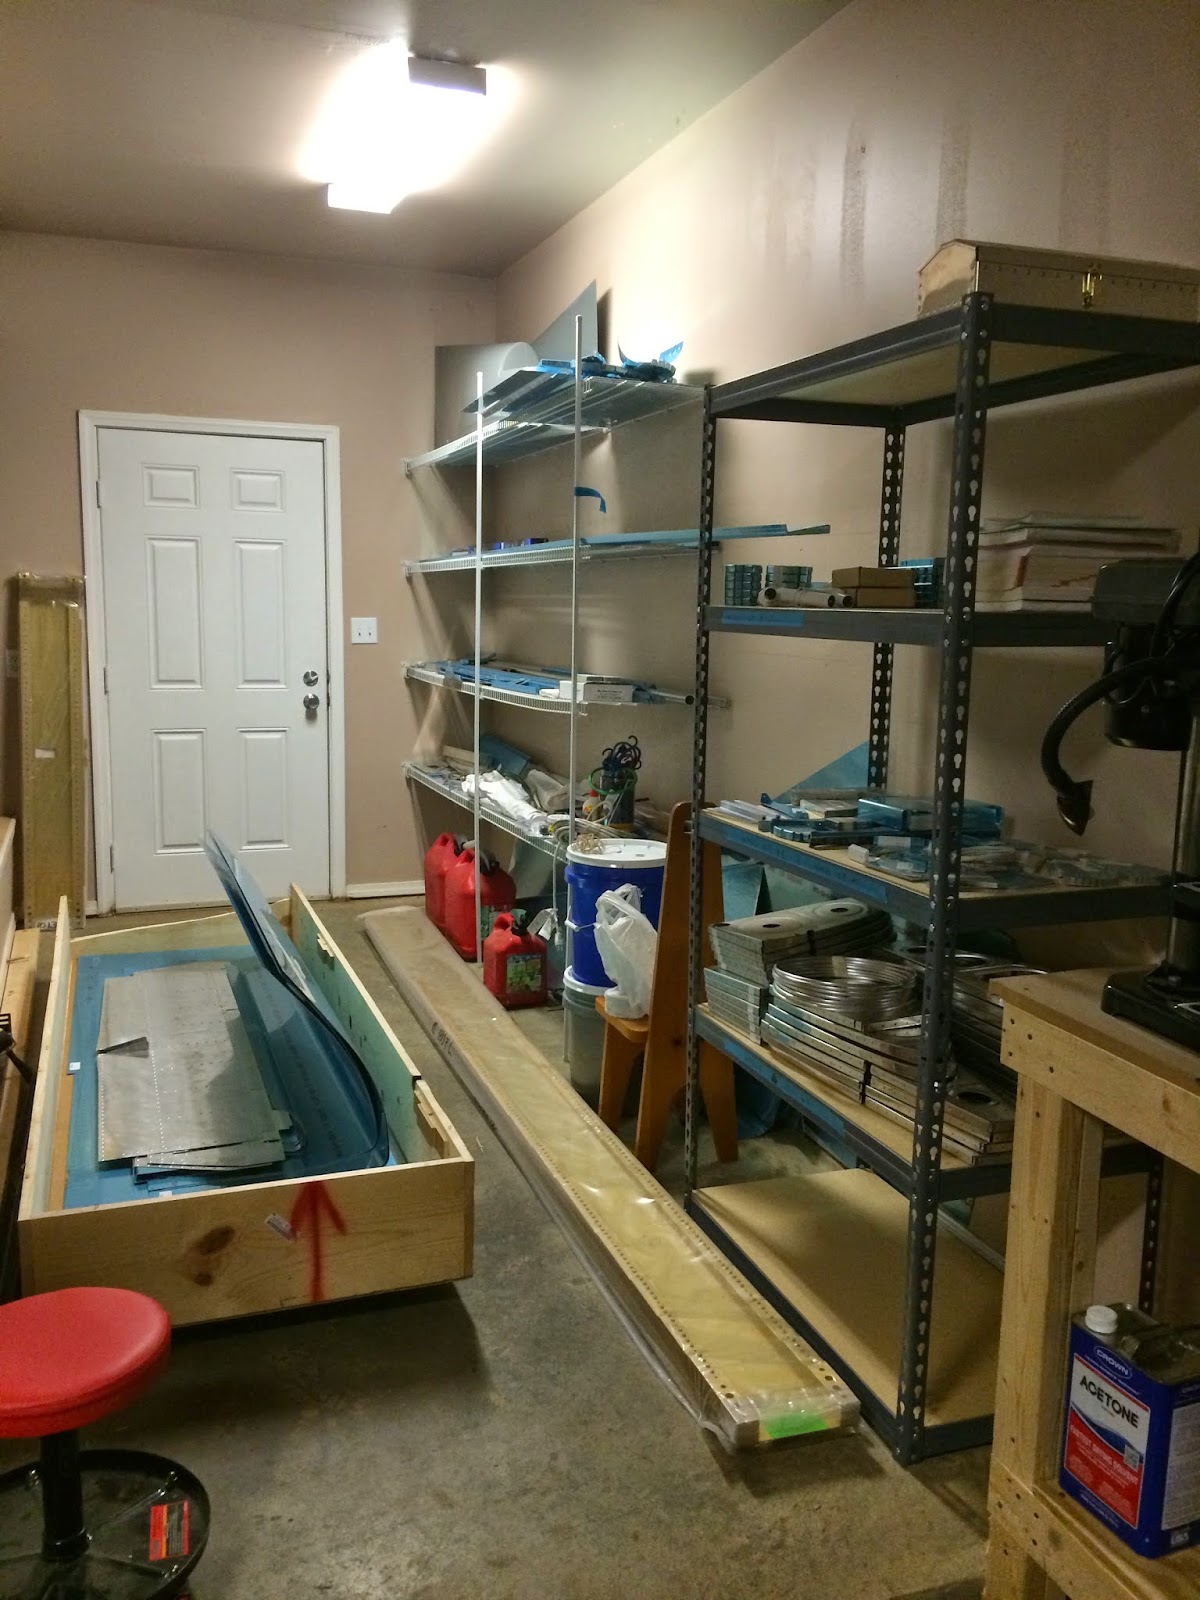
However, I did take some time to organize things in the garage and the third workshop in this project is in working order. (Hopefully the last workshop until the eventual move to a hangar)

Making lemonade from lemons, I was able to use the car work to try out a new time lapse program. Up to now, I had been using Webcam Timelapse and taking a frame every 4 secs. At 15 frames per second on the videos, it meant a minute of video equaled an hour of work. I will now be using Video Velocity 3. It's compatible with a better camera than what I had been using. I will now be taking a frame every 2 secs and output a video at 30 frames per second. It is still the same ratio, but a smoother and more detailed product. Stay tuned for the first build video soon! -M

Saturday, October 4, 2014

1055.1- Return from the dead!!

Elevators - 3 hrs 0 min (Wing Kit 3:00, Total 153:28)
Rivet count: 0 (Total 2,154)

It has been entirely WAAY too long since my last post on this board. Six months!!

A quick recap of my absence and the reasons I've had to take six months off of building an airplane.
April 2014- I finished up my time in active duty Air Force. More importantly, I packed up my house and workshop and put it all into storage. So I wasn't able to work on anything even if I wanted to!
May 2014- I was living at my fiancee's apartment. No room to work and a whole lot of other things happening.
June and July 2014- My fiancee and I spent 7 weeks in Spain. We hiked across the entire country on El Camino de Santiago, and even spent some time with relatives and sightseeing.
August 2014- I married my fiancee. 6 days later, we had packed up her apartment and moved to Mississippi. Needless to say, there were a lot of other things to do around the house. However, I didn't get my workshop tools until late August. We spent weeks organizing and moving things around.
September 2014- The garage workshop still wasn't set up and I had also started pilot training for my new job. I really didn't have any time to spend on it. In fact, it will be slim pickings for time from here on out, but I suppose something is better than nothing.

Today- I spent 3 hours unpacking the wing kit crate and cataloging parts. Since I still have hardware from the empennage kit that will be used on the unfinished elevators and on the unbuilt tailcone, the cataloging part was a real pain. Lot's of multiples and I'm OCD for organizing and keeping all the bolts together, etc.


It's all done now though. Below are pictures of my new digs in MS. There's still a lot of organizing left to do, but it's good to be back in action! I'll keep tidying up the shop in weeks to come. -M


Saturday, April 5, 2014

1053.1- Future RV-10 will be flying as N1010S...

I don't think I had ever mentioned this before, but our RV-10 project will be flying as N1010S... It may be early to be naming the aircraft, but I couldn't pass up on 1010 and S as our last name when I came across it months ago. Also, -E got me a little present earlier this week, as seen below. So there, N1010S will hopefully fly one day 3+ years from now! -M


Tuesday, October 1, 2013

1003.3- Practice Toolbox

Between yesterday and today, I spent about five hours getting the practice toolbox together. I continue to make mistakes, which I consider to be a good thing while it is on pieces that don't matter. Tonight, I let the bucking bar slip twice and made pretty ugly dents. I was probably trying to go too fast. This is something I definitely need to consider as erring on rivet #82 of a skin would require ordering the whole section again, as I do not see myself drilling out 81 rivets at once.


Tuesday, September 24, 2013

1002.2- Tool Organizing

I was able to raid -B's hangar tonight and get the last few tools that I needed! Glad to have good friends that are willing to share...
The orders from last week have been coming in already, so it's time to get organized! First thing I did was make a board to keep all the bits, cutters, dies, etc so they aren't strewn about and likely to get lost. Also tried to keep it in a logical flow for ease of accountability and to aid in learning the conversions between different measuring conventions. -M

Friday, September 20, 2013

1002.15- Toolkit Complete

Save for a few tools that I need to pick up from -B at the airport, my toolkit is complete after a multitude of visits to Harbor Freight, Home Depot, and Lowe's, and orders from Amazon, Spruce, Avery, Brown, and Cleaveland. A few hours of research and an Excel spreadsheet really helped out for comparing prices and (mostly) ordering from the cheapest bidder. There were some exceptions where I took the "you get what you pay for" approach and deemed some high-use items as worth the extra money. Glad to be done with the initial pain of that. I'm sure there will come many a time where I need something I don't have and will have to reorder, hence the budgeting and forecasting. -M.

Wednesday, September 11, 2013

1002.1- Empennage Kit Ordered

As promised, the past month has been ridiculously busy. Timing, money, and availability finally worked out to take 15 minutes and order the first (empennage) kit from Van's. It was far easier that I thought it would be. Just need to buy/borrow the last few hand tools and I'll be ready to go once the kit arrives!! -M


Saturday, July 27, 2013

1000.55- RV-10 Ruger- Practice Kit and Toolbox

Ordered the practice kits from Van's today. Also reserved a few N-numbers from the FAA this week. Not sure which we will go with yet. Still way too early to decide, but the reservations are worth it from 4-5 years out for sentimental reasons to the specific meanings. -M

Sunday, June 30, 2013

1000.1- RV-10 Ruger- Introduction and FAA Requirements

     After quite some deliberation, (and with the support and backing of family and close friends) I've decided to build a kit plane, specifically the RV-10. [More info can be found here: http://www.vansaircraft.com/public/rv10.htm] Welcome to my blog! Although set to public viewing until circumstances dictate otherwise, it will serve a two-fold purpose. A) Document the construction and prove myself as the builder for the FAA and inspection requirements, and B) Provide a forum for family, friends, and those interested to follow my progress.
     I am definitely not making any profit from this venture and I ask that you not profit from my work either. I share my experiences, pictures, and videos in order to provide another source of information for future builders, in much the same way that I have gathered information from dozens of previous builders before me through their blogs and kitlog pages.
     Choosing from the Van's Aircraft line was an easy decision from the minute I set eyes on the construction style. Although I had heard of kitplanes previously, I had only seen the wooden frame and metal pipe/cloth construction styles. I was first introduced to the Van's line when a co-worker bought himself a flying RV-8. It turns out that I know an additional three people at the local airport who have respectively built their RV-8, RV-9, and empennage/wings of an RV-10. The next easiest decisions were going with side-by-side seating and tricycle gear configurations. 
     The choices boiled down to the RV-7/9 vs RV-10, specifically better gas efficiency of a 2-place and aerobatics for the -7, vs all-weather cruising comfort and 4 seats in the RV-10. I see myself traveling quite a bit in the future and would love to partake in such ventures with my future family, colleagues, and business partners. The RV-10 is a lot of plane for a single person, and the extra hours and work will factor into my timeline, but it is realistic for me to grow into it. Also, after flying around in a fighter jet the past 6 years for my real job, I don't foresee acrobatics as something that would be comparable. Maybe in a few decades when I have forgotten what 46,000+ lbs. of thrust feels like, I'll build the RV-7 or its replacement..., as a retirement present of course!
     That about does it for today, and this journey begins. I look forward to the months and years to come and hope to bring you all along. Blue skies and check six. -M